Premium quality guaranteed

First-class measurement technology and highly qualified specialists
Those who have their precision tools coated by CemeCon can rely on premium quality. To ensure this, the experts use top-class, state-of-the-art measuring equipment and the know-how of qualified specialists.
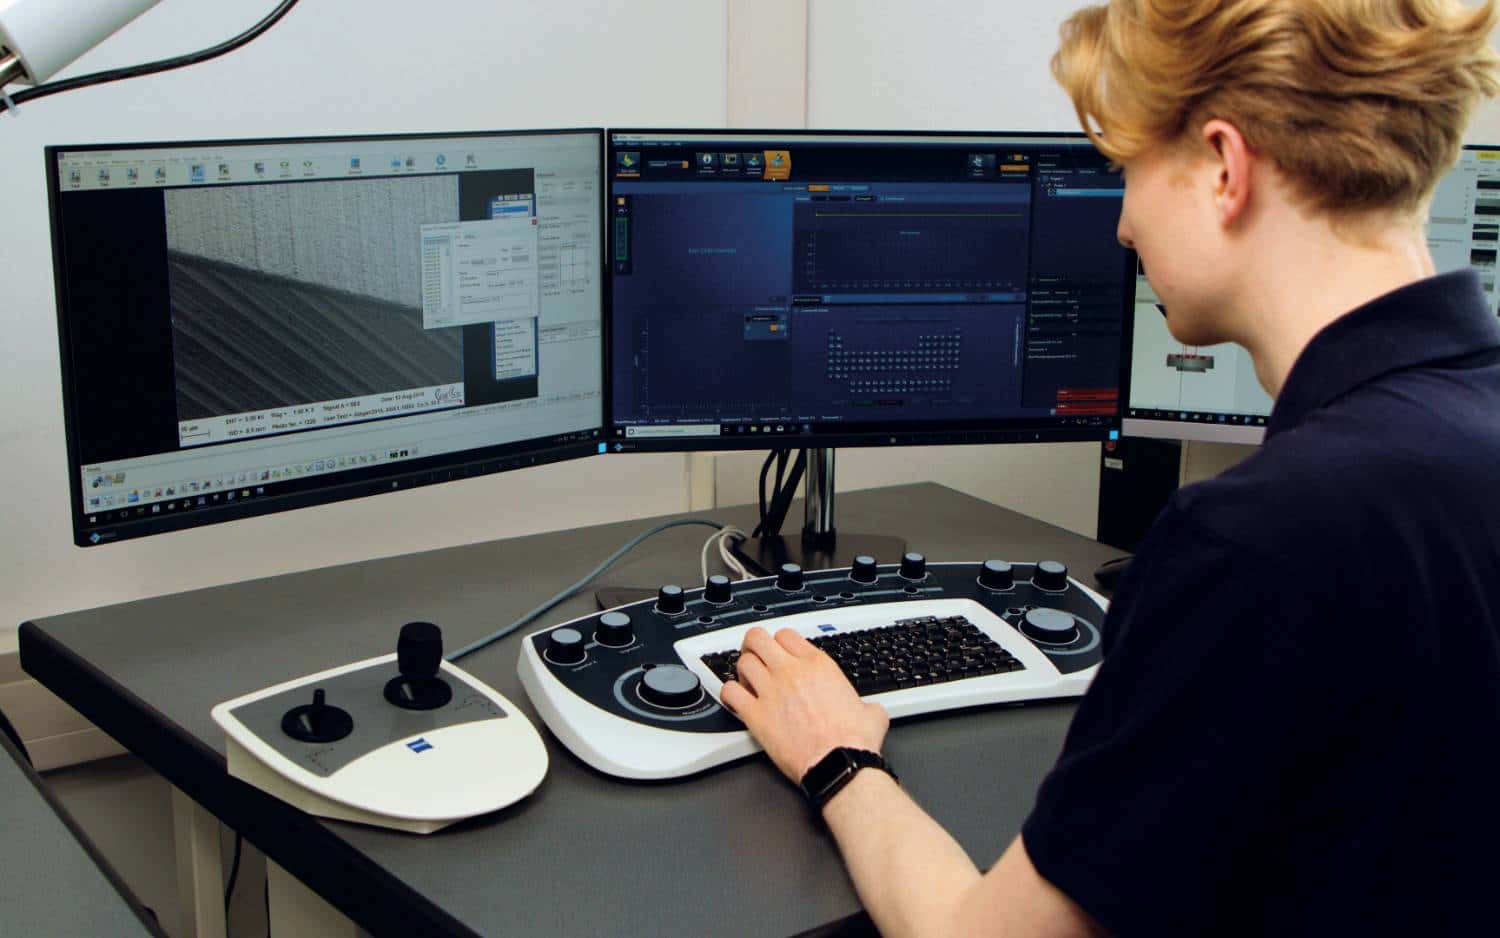
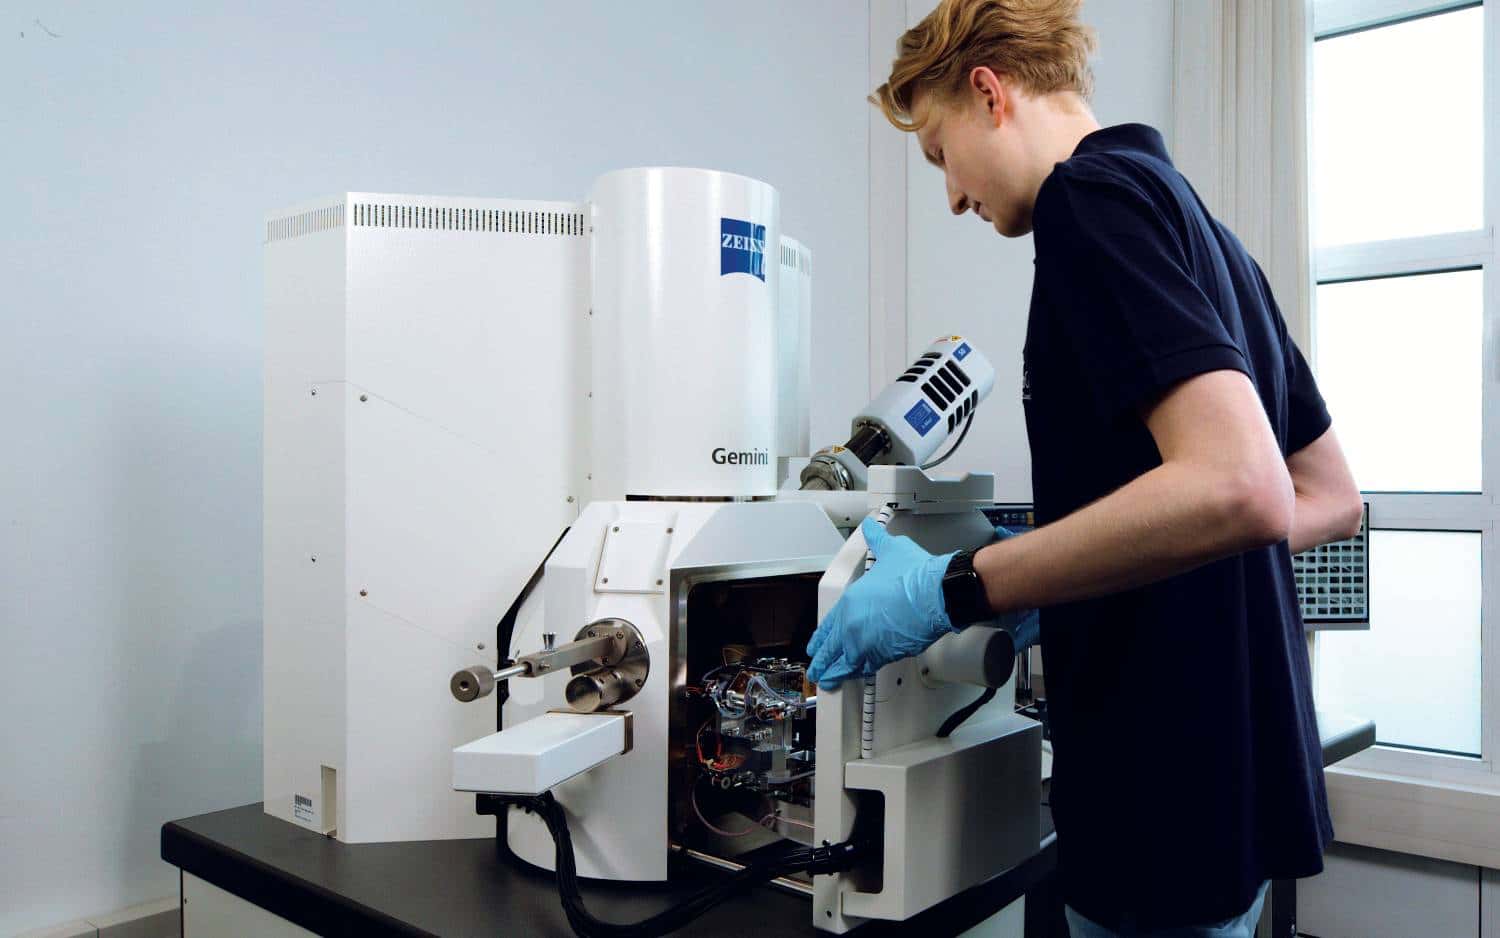
Determining material composition, measuring coating thicknesses, analyzing surface roughness, testing hardness and much more – in order to find the perfect coating solution for an application and ensure consistently high quality in series production, regular analyses and measurements are the be-all and end-all. CemeCon relies only on the best measurement technology: Tools are becoming ever more delicate and precise, and a high-end scanning electron microscope from Zeiss is the perfect “telescope” for detecting the finest details. With the new acquisition, the desktop scanning electron microscope, which has been available for some time, can now be used even more in everyday production for ongoing quality control. Are mechanical parameters of the coating important to you? A nanohardness tester from Anton Paar provides the answers.
Best trained in all measuring and testing methods
First-class measurement technology needs first-class experts to interpret the data. CemeCon trains and secures qualified employees for the future. A good example is Stephan Geisen as a materials testing specialist. He learned his trade from scratch with the coating experts, specializing in metal technology, and after graduating in 2020 he has become the contact person for evaluating coating quality.
His tasks are diverse: Stephan Geisen uses a wide variety of measuring and testing methods as well as state-of-the-art equipment to examine coatings and materials for their properties, composition and also for possible defects. He checks cutting edges and the surface condition, determines the coating thickness, degree of hardness and more. Verifying measurements is just as much a part of the job as documenting the results for the tool manufacturer – and of course keeping an eye on the market for measurement methods. Since his training, Stephan Geisen has been cooperating with various institutes at RWTH Aachen University and industrial companies in order to always be up to date with the various testing methods.
His work and expertise are important building blocks in many processes. “I enjoy to work on research projects. For example, I was involved in the I was involved in the development of the new HiPIMS coating material SteelCon®. It’s always exciting when, thanks to my analysis results, the material composition of a coating material can be adapted and perfected,” says Stephan Geisen enthusiastically.

The close look during engineering and series production
Another important field of work for the materials tester is engineering. With his examinations of the customer’s tool and prototypes, he helps tailor the customer’s own premium coating individually to the requirements of the precision tool manufacturer. After all, an inspecting eye is crucial right from the start, in order to ensure outstanding quality in series production later on and to always supply customers with the best possible coating in the same specification.
Continuous checks by all employees at the different stations of the workflow ensure reliable and consistently high quality in series production. The working materials, the individual process steps and the handling of the tools are checked at every work step. This also includes random input and output checks at each order position. Stephan Geisen: “Although quality control in our own coating production is not one of my main tasks, I do of course support my colleagues with the required special examinations if necessary. Also, during acceptance testing of new equipment for in-house coating of our customers, I check whether all material values meet the high CemeCon standards.”
Download this FACTS Story as PDF Overview of all FACTS magazines (PDF)
